How to Serve Django's Static Files with NGINX on Localhost

Once you have created your Django Web App and you are now ready to host your application , NGINX will help you in serving your static files (e.g. images, JavaScript, CSS).
Other alternatives to NGINX include Apache, lighttpd and Haproxy but in this tutorial we will focus on NGINX.
So What is NGINX ?
According to official documentation :
NGINX is open source software for web serving, reverse proxying, caching, load balancing, media streaming, and more. It started out as a web server designed for maximum performance and stability. In addition to its HTTP server capabilities, NGINX can also function as a proxy server for email (IMAP, POP3, and SMTP) and a reverse proxy and load > balancer for HTTP, TCP, and UDP servers.
Operating system used in this tutorial is Linux Mint
we are going to be using this Django App in this tutorial to test NGINX on localhost, feel free to clone it and try it in your local computer.
once you clone the app , run the following commands
python manage.py migrate and then
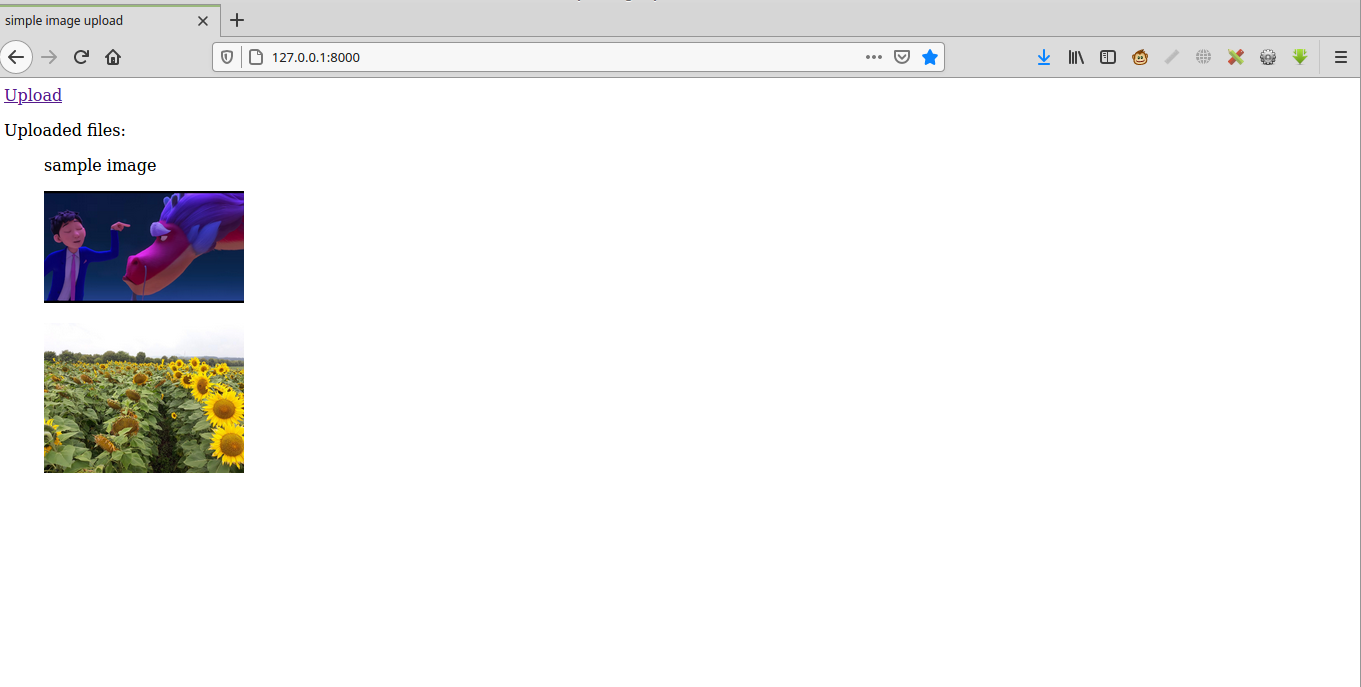
python manage.py runserver upload a few images and now it will look like this, ofcourse your images will be different
if you did the above process successfully, you can now stop the sever by using Ctrl + C
so far we have been using python manage.py runserver to run the app locally but on a production environment , we will be using gunicorn instead of python manage.py runserver
Now lets install gunicorn
Gunicorn (‘Green Unicorn’) is a pure-Python WSGI server for UNIX.
To install gunicorn, we will use the following command
pip install gunicorn After installing gunicorn, we can test it by passing it WSGI application object which is created automatically when you create a new Django project, the application object is found in wsgi.py
In our example app (github repo) we will do it like this
gunicorn core.wsgi Core is the name of the Django project and wsgi.py file is found inside the core folder
if you run the above code , you can now visit your localhost by going to http://127.0.0.1:8000 and check it out,
you will see the same app as before but now CSS is not working and images may be bigger than before.
Now lets install NGINX
Nginx is going to help us serve static files, we will use the following command to install NGINX
sudo apt-get install nginx
The request for static files is going to be handled by NGINX and other requests will be passed to Gunicorn.
We are going to use port 8000 to serve static files , so stop gunicorn and run it on port 8001 like this
gunicorn core.wsgi --bind=127.0.0.1:8001
you can check it out by going to http://127.0.0.1:8001/
To use NGINX to serve our static files , we are going to collect all our static files in one location that will be passed to NGINX.
Django has a command to collect all our static files in one location and that command is
python manage.py collectstatic
This command gets all our static files in one folder that you specified in STATIC_ROOT in Django's settings.py file
our STATIC_ROOT setting will look like this
STATIC_ROOT = os.path.join(BASE_DIR, 'staticfiles')
All static files will be located in a folder named staticfiles on the same level as manage.py file
NGINX needs two paths .
- Path to staticfiles directory
- Path to media directory , where media files are stored.
Create this file /etc/nginx/sites-enabled/example using this command
sudo nano /etc/nginx/sites-enabled/example and add following content to it, note your path for static and media maybe different , for example, in this example static files will be located at /home/felix/core/staticfiles
server {
    listen localhost:8000;

    location / {
        proxy_pass http://127.0.0.1:8001;
    }

    location /static/ {

        alias /home/felix/core/staticfiles/;
    }


    location /media/ {

       alias /home/felix/core/media/;

    }

}
Test your configuration for syntax errors by typing:
sudo nginx -t
After that restart NGINX with this command:
sudo service nginx restart
After that, visit your localhost at http://127.0.0.1:8000/ your application should be working perfectly with CSS and media files working.
Explanation
The listen directive is set to listen for requests here : http://127.0.0.1:8000/
Let us now look at the location blocks
Any requests that is ending with / is going to be passed to Gunicorn which is listening at port 8001
If you look at the above code you can see this line
location /static/ {

        alias /home/felix/core/staticfiles/;
    }
All requests to our static files will be caught by the above location block , e.g http://127.0.0.1:8001/static/
We also have another location block to catch request to /media/ files as shown below
location /media/ {

       alias /home/felix/core/media/;

    }
To understand how alias works we are going to use an example,
On request of /media/profilepic.jpg, the file /home/felix/core/media/profilepic.jpg will be sent (your path might be different) read more on that here
Hope you now understand how NGINX serves static files, for more information on this topic, I am going to attach resources for further reading.
After you are done, we are going to stop NGINX with this command
sudo systemctl stop nginx
End of tutorial
Additional Notes
To check whether or not Nginx is running on your machine, enter the following into your command prompt:
sudo systemctl status nginx
The above command will help you check the status of Nginx
Enabling NGINX
Nginx by default is configured to start automatically when the server boots. If you do not like this behaviour, you can disable by typing:
sudo systemctl disable nginx
You can also re-enable the service to start up at boot if you want it to start automatically again by typing:
sudo systemctl enable nginx
Starting NGINX
To start the NGINX server use
sudo systemctl start nginx
Stopping NGINX
To stop running Nginx server use:
sudo systemctl stop nginx
Reloading Nginx Server
To reload NGINX server use
sudo systemctl reload nginx
Resources
-
Nginx Essentials: Installation and Configuration Troubleshooting
-
Minimal Nginx and Gunicorn configuration for Django projects
- Path traversal via misconfigured NGINX alias
- NGINX Beginners's Guide
- How to Start, Stop, or Restart Nginx
- photo by imgix on unsplash
- How to Start, Stop, and Restart Nginx (systemctl & Nginx Commands)
Keep Learning
- How Does Django and Celery Work
- How to Host your Django StaticFiles and MediaFiles on DigitalOcean Spaces Object Storage
- Python Django Web Scraping