Django Translation To Different Languages Example

In this tutorial we are going to build a very simple app to demonstrate how Django translations work. We will build a simple language switcher to enable us switch between different languages.
Note : This article assumes you know how to create a basic Django app
Before we begin you can get the source code first if you would like to go straight to the end product.
GET SOURCE CODE HERE
https://github.com/felix13/Django-translation-example
Internationalization is sometimes written as i18n which means i + 18 letters + n , so anywhere you see i18n just know that it is internationalization they are talking about.
Lets create a simple Django app with this command
django-admin startproject mysite
The above command is going to create our project which we have named it mysite
After that , lets create our app inside our project with this command
python manage.py startapp switchlangexample
Our app is named switchlangexample , we will use this app to explain how language switching works in Django
Go to your settings.py file and register the app we created
INSTALLED_APPS = [
    'django.contrib.admin',
    'django.contrib.auth',
    'django.contrib.contenttypes',
    'django.contrib.sessions',
    'django.contrib.messages',
    'django.contrib.staticfiles',
    'switchlangexample',  # we need to add our app here
]
We will be using LocaleMiddleware , this will allow us to change language based on data on the request.
Add 'django.middleware.locale.LocaleMiddleware' to your MIDDLEWARE settings.
MIDDLEWARE = [
   'django.contrib.sessions.middleware.SessionMiddleware',
   'django.middleware.locale.LocaleMiddleware',
   'django.middleware.common.CommonMiddleware',
]
The ordering of the middleware matters , LocaleMiddleware should come after SessionMiddleware, because LocaleMiddleware makes use of session data. And it should come before CommonMiddleware because CommonMiddleware needs an activated language in order to resolve the requested URL.
Declare the languages you will use using the LANGUAGES setting below, In our case we will be using only two languages , English and French.
The LANGUAGES setting takes a list of tuples where the first element is the language code and the second is the language name.
You can checkout the full list of available language codes here available language codes.
LANGUAGES = [
  ('en-us', 'English'),
  ('fr', 'French'),
]
Create a folder named locale on the same level as the manage.py file and our app switchlangexample, this folder will hold the .po and .mo files that will be used in translation.
The .po and .mo files are currently not created but we will generate them later.
Your folder structure should be as shown below.
    |---switchlangexample

    |---locale

    |---manage.py
We need now to point to this locale file in the settings file as shown below.
LOCALE_PATHS = [
    os.path.join(BASE_DIR, 'locale'),
]
Modify your urls.py and add i18n path and the home page path which is non-existent at the moment but we will create later.
from django.contrib import admin
from django.urls import path, include

from switchlangexample import views

urlpatterns = [
    path('admin/', admin.site.urls),
    path('', views.home, name='home'),
    path('i18n/', include('django.conf.urls.i18n')),
]
Now go to your views.py file inside switchlangexample app and create homepage view .
from django.shortcuts import render

def home(request):

    return render(request, 'switchlangexample/home.html')
This is a very simple view that will render home.html.
Create home.html inside of switchlangexample/templates/switchlangexample and paste the following inside of it.
{% load i18n %}

<form action="{% url 'set_language' %}" method="post">{% csrf_token %}
     <select name="language">
        {% get_current_language as LANGUAGE_CODE %}
        {% get_available_languages as LANGUAGES %}
        {% get_language_info_list for LANGUAGES as languages %}
        {% for language in languages %}
          <option value="{{ language.code }}"{% if language.code == LANGUAGE_CODE %} selected{% endif %}>
              {{ language.name_local }} ({{ language.code }})
          </option>
        {% endfor %}
     </select>
     <input type="submit" value="Go">
 </form>


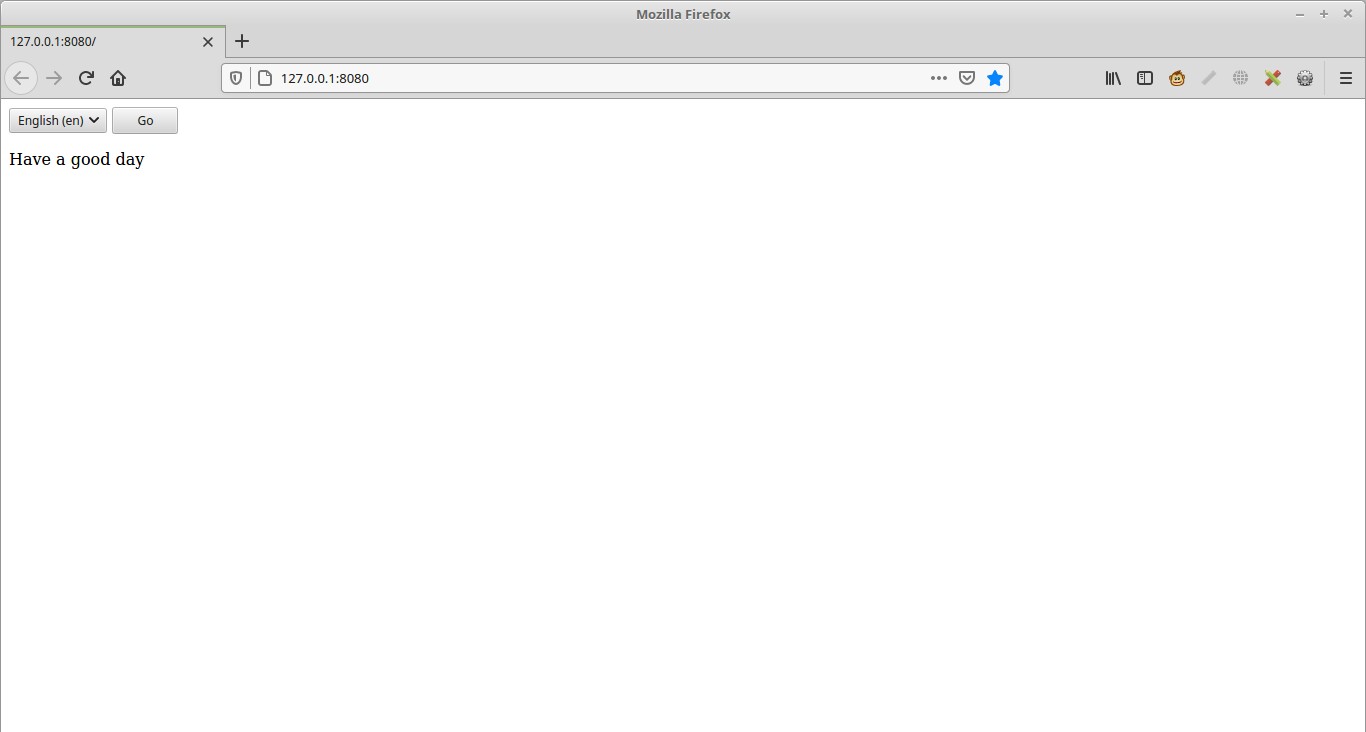
{% trans "Have a good day" %}
The above html form will create a language switcher that will enable us to select different languages.
EXPLANATION OF THE CODE ABOVE
{% load i18n %} - This template tag is used to load Internationalization
You can also see this line action="{% url 'set_language' %}" method="post"
After we select our language, the data that contains the language we selected will be posted to a view named set_language' as show in action="{% url 'set_language' %}"
set_language view will be available at /i18n/setlang/
Another thing worth noting is that you can set the next paremeter that will tell Django which url to redirect to after we change the language, if the next parameter is missing Django will redirect to the same page, in our case Django will redirect us to the same page.
{% get_current_language as LANGUAGE_CODE %} this will return the preferred language of the user as a string, Example: en-us
{% get_available_languages as LANGUAGES %} will return a list of tuples, the first element is the language code and the second is the language name
{% get_language_info_list %} template tag is used to retrieve information for a list of languages . checkout official documentation for detailed explanation
Run this command
django-admin makemessages -l fr
This command is going to create a message file for the French language, if you now go to locale folder you will find django.po file with the following contents in it
#: switchlangexample/templates/switchlangexample/home.html:19
msgid "Have a good day"
msgstr " "
Note: Message files have a .po file extension.
As you can see above, Django went and looked at our template and found this line {% trans "Have a good day" %} which is like saying translate have a good day.
we are going to provide translation for have a good day in french as shown below.
#: switchlangexample/templates/switchlangexample/home.html:19
msgid "Have a good day"
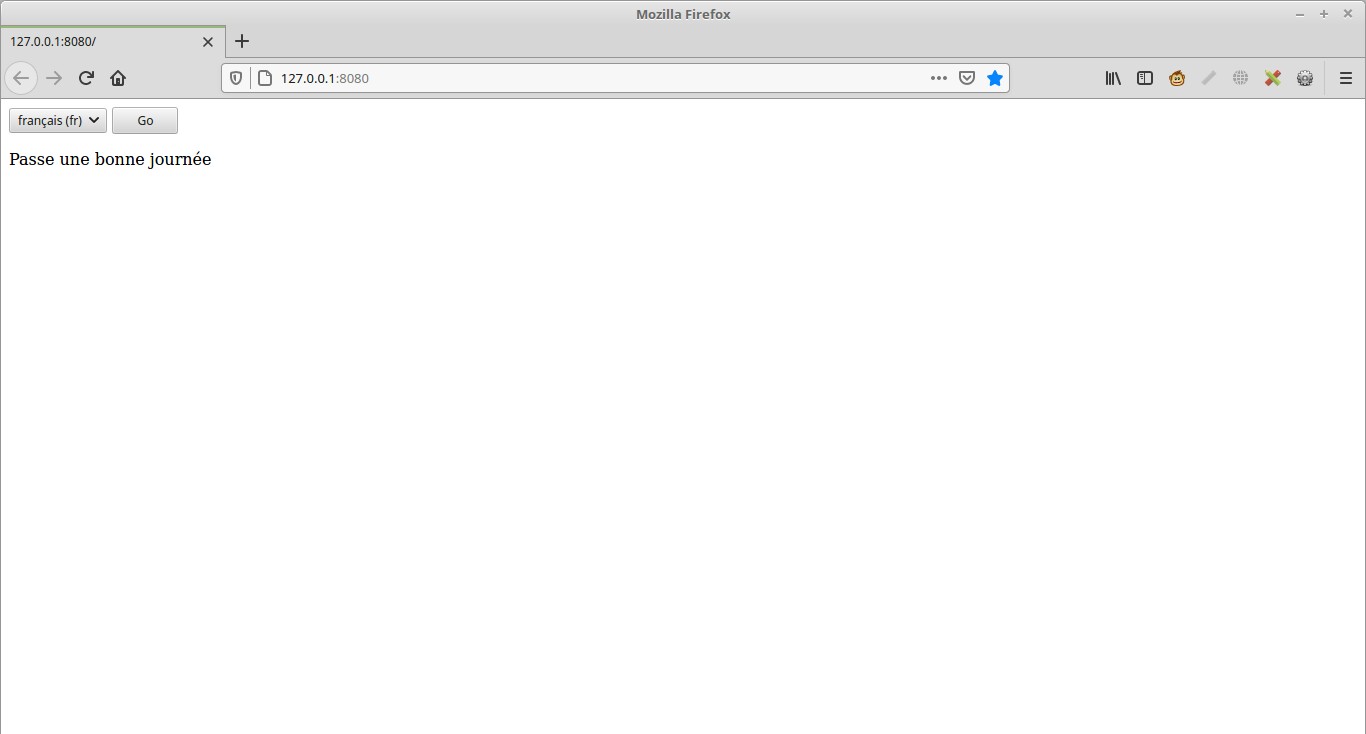
msgstr "Passe une bonne journée"
We have just provide the french translation for have a good day with this line msgstr "Passe une bonne journée".
Anytime you make changes to .po file , you will need to compile it using this command.
django-admin compilemessages
This will look all available .po files and creates .mo files. Do not worry about .mo files , those will be used by Django and we do not need to edit them.
Now the last comand you need to run is
python manage.py migrate
start the server with this command
python manage.py runserver
You should be able to see a page similar to the one shown below
you can switch to french as shown below
GET SOURCE CODE HERE
https://github.com/felix13/Django-translation-example
RESOURCES
Official Django Documentation on Translations
Header photo by Jeremy Zero on unsplash
Keep Learning
- Python Django Web Scraping
- How Django Logging Works
- Difference between Django forms.Form and forms.ModelForm

