How to Upload Media Files With Django and Javascript Fetch API

We are going to learn how to upload media files using Django and JavaScript fetch API, in this tutorial I will be using an example Django app that I have re-used from the previous tutorial .
SOURCE CODE USED IN THIS TUTORIAL
You can clone it or download it from here https://github.com/felix13/django-upload-files-javascript-fetch-API
Our models.py file is very simple , it looks like this
from django.db import models

class Picture(models.Model):
    name = models.CharField(max_length=20)
    image = models.ImageField()

    def __str__(self):
        return self.name
Our forms.py file is very simple too , it looks like this
from django import forms

from picha.models import Picture


class PictureForm(forms.ModelForm):
    name = forms.CharField(
       widget=forms.TextInput(attrs={'class': 'form-control'}),
       max_length=50)

    class Meta:
        model = Picture
        fields = ['name', 'image']
Our views.py file has three views , the first is the home view
def home(request):
    images = Picture.objects.all()
    return render(request, "picha/home.html", {'images': images})
The second is add_picture view
def add_picture(request):
    data = {}
    form = PictureForm()
    if request.method == "POST":
        form = PictureForm(request.POST, request.FILES)
        if form.is_valid():
            form.save()
            data['form_is_valid'] = True
            return JsonResponse(data)
        else:
            data['form_is_valid'] = False
            data['picture_form'] = render_to_string("picha/picture_form.html",
                                               {'form': form}, request=request)

    data['picture_form'] = render_to_string("picha/picture_form.html",
                                               {'form': form}, request=request)
    return JsonResponse(data)
The third view is the edit_picture view, it looks like this
def edit_picture(request, id):
    data = {}
    image = get_object_or_404(Picture, pk=id)
    form = PictureForm(instance=image)
    if request.method == "POST":
        form = PictureForm(request.POST, request.FILES, instance=image)
        if form.is_valid():
            form.save()
            data['form_is_valid'] = True
            return JsonResponse(data)
        else:
            data['form_is_valid'] = False
            data['edit_picture'] = render_to_string("picha/edit_picture.html",
                                                {'form': form}, request=request)

    data['edit_picture'] = render_to_string("picha/edit_picture.html",
                                                {'form': form}, request=request)
    return JsonResponse(data)
Lets go to templates, we have three templates edit_picture.html, home.html and picture_form.html
edit_picture.html looks like this
 <div class="modal-header">
    <h5 class="modal-title" id="staticBackdropLabel"> Edit image </h5>
    <button type="button" class="close" data-dismiss="modal" aria-label="Close">
      <span aria-hidden="true">× </span>
    </button>
 </div>

 <div class="modal-body">

  <form action="" method="post" enctype='multipart/form-data'>
     {% csrf_token %}
     {% for field in form %}
      <div class="form-group">
       {{ field.errors }}
       {{ field.label_tag }}
       {{ field }}
      </div>
       {% endfor %}
  </form>

 </div>

 <div class="modal-footer">

  <button type="button" class="btn btn-secondary" data-dismiss="modal">Close
  </button>

  <button type="button" data-id="{{form.instance.pk}}"
                 class="submit_edited_image  btn btn-primary">Submit </button>

 </div>
picture_form.html
 <div class="modal-header">
    <h5 class="modal-title" id="staticBackdropLabel"> Add image </h5>
    <button type="button" class="close" data-dismiss="modal" aria-label="Close">
      <span aria-hidden="true">× </span>
    </button>
 </div>

 <div class="modal-body">

   <form action="" method="post" enctype='multipart/form-data'>
     {% csrf_token %}
     {% for field in form %}
      <div class="form-group">
       {{ field.errors }}
       {{ field.label_tag }}
       {{ field }}
      </div>
       {% endfor %}
   </form>

 </div>

 <div class="modal-footer">

  <button type="button" class="btn btn-secondary"  data-dismiss="modal">Close
  </button>

  <button type="button" class="image_submit  btn btn-primary">Submit </button>

 </div>
home.html
{% extends 'base.html' %}

{% block title %} {% endblock %}

{% block content %}
 <div class="container">

   <div class="row">
     <div class="col-sm-8 my-2">
         <button  id="upload" type="button" class="btn btn-success">Upload
        </button>
     </div>
   </div>


  {% csrf_token %}

   <div class="row">
     {% for image in images %}
         <div class="col-md-4 mb-3">
           <div class="card">
             <div class="card-header">
             {{image.name}}
              <a id="edit" class="float-right" data-id={{image.id}} href="#">
                Edit
               </a>
              </div>
             <div class="card-body"> <img style="width:100%;height:200px;"
             src="{{ image.image.url}}"> </div>
           </div>
         </div>
      {% if forloop.counter|divisibleby:3 %} </div> <div class="row">{% endif %}
    {% endfor %}
   </div>

 </div>

{% endblock %}

{% block extra_js %}

 <script>


 </script>

{% endblock extra_js %}
In the above code , our javascript code will go to this block called extra_js
The javascript code that will go there is shown below
Note: the code below consist of jQuery and Vanilla JS i.e the Fetch API which will replace jQuery.ajax()
The below code shows what happens when a user clicks on the upload button to upload an image file. we will break this code into three parts for us to understand it better.
$(document).on('click', '#upload', function(){

      beforeSend();

      function beforeSend() {
        $("#staticBackdrop .modal-content").html("");
        $("#staticBackdrop").modal("show");

      }


      fetch('/add_picture/', {
      headers:{
          'Accept': 'application/json',
          'X-Requested-With': 'XMLHttpRequest',
      },
      })
      .then(response => {
          return response.json()
      })
      .then(data => {
         $("#staticBackdrop .modal-content").html(data.picture_form);
      })


});
The above code can be divide into three parts
The first part is shown below
$(document).on('click', '#upload', function(){


});
This code simply attaches a click event to the button with id of upload
The second part is
beforeSend();
function beforeSend() {
     $("#staticBackdrop .modal-content").html("");
     $("#staticBackdrop").modal("show");
 }
The third part is
fetch('/add_picture/', {
      headers:{
          'Accept': 'application/json',
          'X-Requested-With': 'XMLHttpRequest',
      },
      })
      .then(response => {
          return response.json()
      })
      .then(data => {
         $("#staticBackdrop .modal-content").html(data.picture_form);
      })
The response is then converted to json and then after that we take the picture_form returned from our server and we inject it into the content section of bootstrap modal.
The headers section is set as
- 'Accept': 'application/json' - this means we expect json response from server.
- 'X-Requested-With': 'XMLHttpRequest' - this is important if we are to work with Django's request.is_ajax() method in our views.
The next part now shows what happens when a user posts data to the server
$(document).on("click", ".image_submit", function(){

    var formdata = new FormData();

    var image = $('#id_image')[0].files[0]

    formdata.append( 'image', image );

    var csrf = $('input[name="csrfmiddlewaretoken"]').val();

    formdata.append('csrfmiddlewaretoken', csrf);

    var name = $('input[name="name"]').val();

    formdata.append('name', name)

    fetch('/add_picture/', {
      method: 'POST',
      mode: 'same-origin',
      headers:{
        'Accept': 'application/json',
        'X-Requested-With': 'XMLHttpRequest',
        'X-CSRFToken': csrf,
      },
      body: formdata
      })
      .then(response => {
          return response.json()
      })
      .then(data => {

         if (!data.form_is_valid){
               $("#staticBackdrop .modal-body").html("");
               $("#staticBackdrop .modal-body").html(data.picture_form);
            }

         if (data.form_is_valid) {
               $("#staticBackdrop").modal("hide");
               location.reload();
            }

       })

  return false;

  });
We are going to break the above code into three parts too for us to understand it better.
The first part will be
$(document).on("click", ".image_submit", function(){

      return false;

});
This code simply attaches a click event to the button with class of image_submit
return false is jQuery's equivalent of event.preventDefault() in plain JavaScript.
It is used to stop the default event from occuring, in our case this is optional but it is important to understand what event.preventDefault() does.
Our second part is
var formdata = new FormData();

var image = $('#id_image')[0].files[0]

formdata.append( 'image', image );

var csrf = $('input[name="csrfmiddlewaretoken"]').val();

formdata.append('csrfmiddlewaretoken', csrf);

var name = $('input[name="name"]').val();

formdata.append('name', name)
In the above code, new FormData(); creates FormData object which we will append fields to it using append() method
This line var image = $('#id_image')[0].files[0] gets the File object.
This line formdata.append( 'image', image ); appends the image to the FormData object with a key of image
This line var csrf = $('input[name="csrfmiddlewaretoken"]').val(); gets the values of csrfmiddlewaretoken in the template.
Lastly we have var name = $('input[name="name"]').val(); this line gets the value of the name of the image.
The third part is
fetch('/add_picture/', {
      method: 'POST',
      mode: 'same-origin',
      headers:{
        'Accept': 'application/json',
        'X-Requested-With': 'XMLHttpRequest',
        'X-CSRFToken': csrf,
      },
      body: formdata
      })
      .then(response => {
          return response.json()
      })
      .then(data => {

         if (!data.form_is_valid){
               $("#staticBackdrop .modal-body").html("");
               $("#staticBackdrop .modal-body").html(data.picture_form);
            }

         if (data.form_is_valid) {
               $("#staticBackdrop").modal("hide");
               location.reload();
            }

       })
Our Fetch API can also be used to POST data to the server and here we are doing just that, we are posting our image together with its name to the back end view found in this URL '/add_picture/'
We also have csrfmiddlewaretoken which should be posted together with our data, this is for security purposes.
Note: you must include csrfmiddlewaretoken in the template using this {% csrf_token %} tag
mode: 'same-origin' ensures that we do not send CSRF token to another domain.
After we get data from our backed server , we have checks to check if the form was valid or not using these lines
if (!data.form_is_valid){
         $("#staticBackdrop .modal-body").html("");
         $("#staticBackdrop .modal-body").html(data.picture_form);
   }

 if (data.form_is_valid) {
          $("#staticBackdrop").modal("hide");
          location.reload();
  }
The data.form_is_valid can either be true or false depending on whether the data was valid or not. check the back end view to understand how it works.
If the form is valid, we simply hide the modal and reload the page using this line location.reload();
If the form is not valid, we display the form to the user together with the errors generated.
The next thing we need to look at is what happens if a user clicks on the edit link above the image. The following code handles that.
$(document).on('click', '#edit', function(){

      var image_id = $(this).attr("data-id");

      beforeSend();

      function beforeSend() {
        $("#staticBackdrop .modal-content").html("");
        $("#staticBackdrop").modal("show");

      }


      fetch('/edit_picture/' + image_id + "/", {
      headers:{
          'Accept': 'application/json',
          'X-Requested-With': 'XMLHttpRequest',
      },
      })
      .then(response => {
          return response.json()
      })
      .then(data => {
         $("#staticBackdrop .modal-content").html(data.edit_picture);
      })


});
Here we are getting the image id from our custom data-id attribute that we used to store the image id in the home.html template like this data-id={{image.id}}
The next thing I did is, I created a new URL that will be pointing to the image we want to edit by concatenating /edit_picture/' and the image_id to form a new URL , for example /edit_picture/1/
This will be the URL that will go into the Fetch API
Note: if you do not explicitly declare the method to use in the Fetch API , it defaults to GET method
Now after we edit our image details, we can submit it, and the code that handles that submitted edited image is shown below, it is almost similar to the one we used in posting our image for the first time, take a look.
$(document).on("click", ".submit_edited_image", function(){

    var formdata = new FormData();

    var image = $('#id_image')[0].files[0]

    formdata.append( 'image', image );

    var csrf = $('input[name="csrfmiddlewaretoken"]').val();

    formdata.append('csrfmiddlewaretoken', csrf);

    var name = $('input[name="name"]').val();

    formdata.append('name', name)

    var image_id = $(this).attr("data-id");


    fetch('/edit_picture/' + image_id + "/", {
     method: 'POST',
     mode: 'same-origin',
     headers:{
        'Accept': 'application/json',
        'X-Requested-With': 'XMLHttpRequest',
        'X-CSRFToken': csrf,
     },
     body: formdata
     })
     .then(response => {
         return response.json()
     })
     .then(data => {

         if (!data.form_is_valid){
           $("#staticBackdrop .modal-content").html("");
           $("#staticBackdrop .modal-content").html(data.edit_picture);
         }

         if (data.form_is_valid) {
           $("#staticBackdrop").modal("hide");
           location.reload();
         }

      })

  return false;

  });
Once you edit your image and submit it, the new details of the image will be updated in the database, i.e if image was changed then the new image will replace the old, if it is the name then the new name will be updated.
I should add that in modern Javascript, it is advisable to use let or const in place of var whenever possible and appropriate.
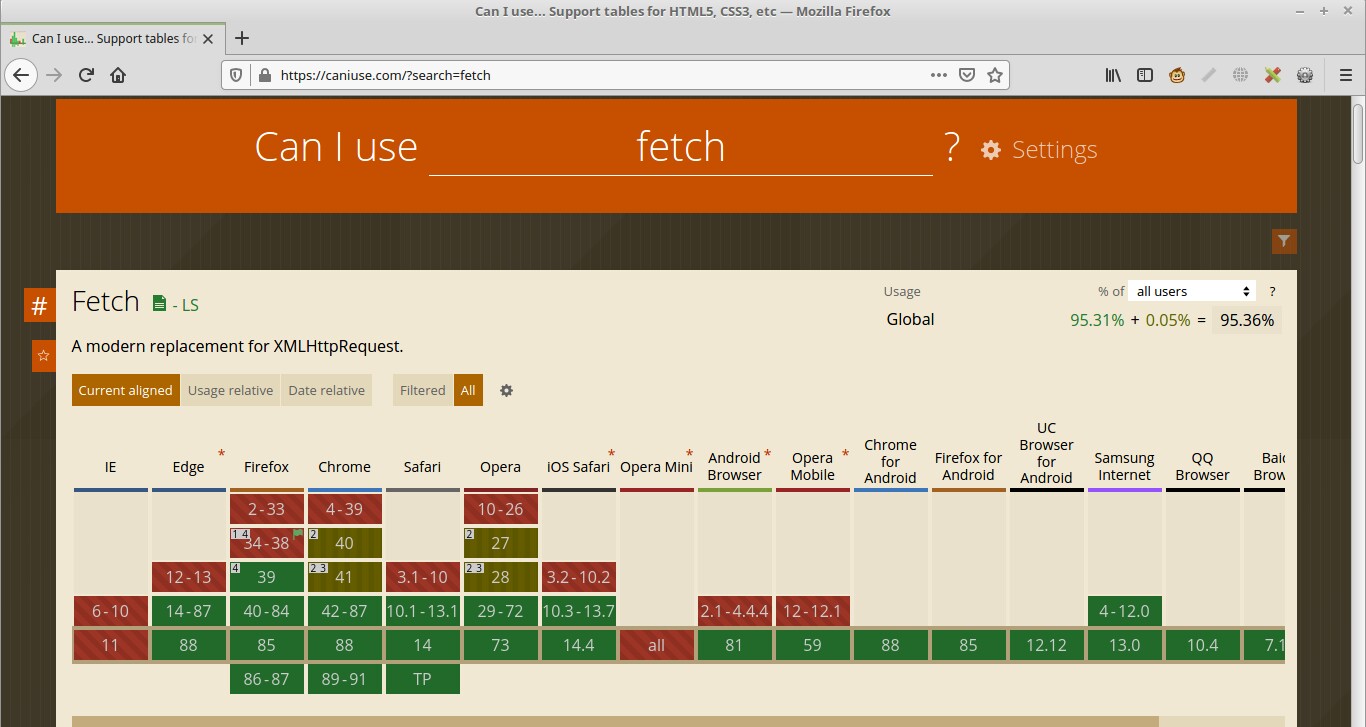
You can see support for the Fetch API in different browsers
I hope you did learn something today from this tutorial.
RESOURCES
Header photo was provided by @artbyhybrid on unsplash
Keep Learning
- What are python args and kwargs
- Django Translation To Different Languages Example
- Understand clean() and clean_<fieldname>() in Django